


(Figure.1 Test Mode Messaging)
To help resolve the issue, perform the following steps.
- Press and hold the Windows key (
 ), and then press the q key.
 - In the search box type cmd.
- Right-click Command Prompt, and then select Command Prompt/PowerShell as an Administrator.

(Figure.2 PowerUser Menu)
- The User Account Control window may appear, if so select Yes.
- In the Command Prompt window, type the following command bcdedit -set TESTSIGNING OFF and then press Enter.Bcdedit.exe -set TESTSIGNING OFF
- When you see the confirmation, close the Command Prompt window.
- Save any open work and close any programs, and restart the computer. The testsigning off command should be enough to turn off Test Mode on your PC.
After the reboot, if you are still seeing the Test Mode messaging, then open the Command Prompt/PowerShell with administrator privileges again and type in the following commands in the order shown followed by pressing Enter after each line:
Bcdedit.exe -set TESTSIGNING OFF

(Figure.3 Integrity Checks Window)
Reboot the PC and confirm that Test Mode is disabled and the watermark/messaging removed from the visible desktop.
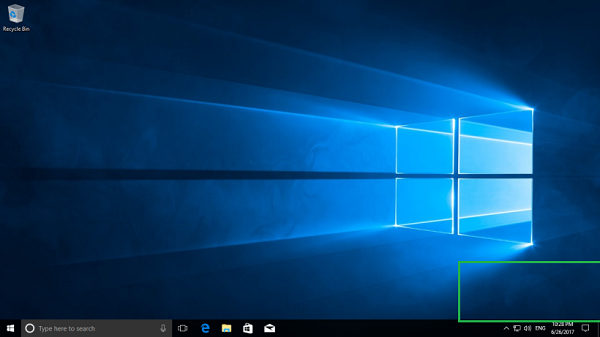
(Figure.4 No Test Mode messaging seen)
You can extract the Windows product key and redo the activation. The way to extract the windows activation key is to use the following command line:

(Figure.5 Windows 10 retrieve the product key)
After extracting the product key, simply enter the key back into the system and the system will clear the activation request
NEW 🆕 ALL MDM KG ADMIN REMOVE PERMANENT FILE FREE FROM V.I.P GROUP ✅✅✅✅✅🥰🥰🆕🆕✅✅

![Samsung A042F Firmware [Dead Boot Repair] Binar u3 u2 u1](https://blogger.googleusercontent.com/img/a/AVvXsEgJhKIllNbV4_flH-MbyyPSpWqrJ3j6kIbBAHRmkaSHTHN88E1Is-xliAykDHDs9Hf9pdWJQpPCzr5tPGa2uY5UqVYxy-FXug1o_igXE2uP2LB0M8j62aMSyPyJLT-ZOSAFAIlItZiyQ0uvxDRNiDEK7RDsiDJYq96Ax_awR8_hFFIKQ8wiRxdWzp6CEMY=w72-h72-p-k-no-nu)


.jpg)


